< Previous | Contents | Next >
— Color Warper: Exposes DaVinci Resolve’s Color Warper controls. The Color Warper palette is a mesh-based warping tool that, instead of warping the spatial location of pixels, warps one set of colors into another. These adjustments, made using a grid of draggable control points,
automatically have a smooth falloff from the colors you’re warping to other colors that are locked into place. The smoothness of this falloff depends on the distance between the warp points that are being adjusted and other warp points that are locked in place to prevent change.
The Color Warper controls in the Mini Panel are used in conjunction with the mouse and screen interface. Before using the Color Warper controls on the Mini Panel, you must first click on one or more control points in the user interface to select an area. Once selected you can then manipulate and modify that area using the control knobs and soft buttons on the Mini Panel.
For more information on using the HDR toolset, see Chapter 133, “Color Warper.”
If you purchased a Dolby Vision license, you can manually adjust your trims using the Mini Panel as well. The Primary trim controls are available in the first menu using the knobs, and the secondary trim controls are accessed by tapping on the Next Page button.
For more information on using Dolby Vision, see Chapter 10, “HDR Setup and Grading.”
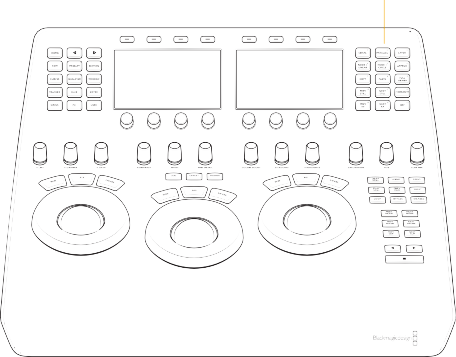
Quick Selection Buttons
On the right-hand side of the top deck, you will find 15 quick selection buttons. These are for very commonly used selections that a colorist might use many times for each clip.
![]()
Quick selection buttons
— Serial: The most common node to use on the node graph is a Serial node. A Serial node is a full- featured color correction processor offering primaries, secondaries, windows, tracking, image stabilization, sharpening and blur, matte blur, and so on. Serial nodes are added one after the other in a cascade mode, similar to adding one layer of correction on top of the last. All grades in a preceding node(s) will impact the source image and therefore the grades in following nodes.
— Parallel: Unlike adding a Serial node, adding a Parallel node first actually adds two nodes. One behaves like a Serial node with full color correction capabilities. The second is a Parallel Mixer node. This mixer accepts the image from the original Serial node and from the new Serial node and the output is a mix of these two. If the current node is one of the Serial nodes immediately preceding the Parallel Mixer node and you select Add Parallel again, another input to the mixer will be created as will another preceding Serial node. In each case, the input to these Serial nodes will be common, effectively making them in parallel to each other. The key advantage is that the source image is available to many nodes, whereas in a straight Serial node graph, each time you restrict a color in a node the following nodes have little ability or limited range to use that color.
— Layer: The Layer node is similar to the Parallel node in that it accepts the image inputs from more than one node. The key difference to a Parallel node is that the mixing of the inputs in a Layer node is prioritized towards the latest additions to the input list. For example, select Add Layer
and DaVinci Resolve will add a node in parallel to the current node and link the output of the current and the newly made Parallel node to the two inputs of the Layer Mixer node. The previous current node will have the lowest priority in the mix, and the newly made Parallel node the highest priority. Add one more Layer node, a third input node will be created with a higher mix priority than the first two nodes.
— Node + Linear: Adds a Serial node after the current node on the node graph and simultaneously adds a Linear Power Window, thus reducing the number of keystrokes.
— Node + Circle: Adds a node after the current node on the node graph and simultaneously adds a Circular Power Window.
— Append: Often when navigating around the Node Editor and making correction trims, the colorist decides he/she needs an additional node for more correction. Using the Append Node key will always add a Serial node to the very end of the node graph, regardless of which node in the graph is the current node.
— Copy: Used to copy a selected nodes grade to another node.
— Paste: Use this key to complete the copy/paste of node grade.
![]()
— Full Viewer: The Full Viewer display shows an enlarged Viewer and this includes transport controls at the bottom, timecodes and the selections for Reference Still modes, spilt screens, and Highlight modes.
— Prev Still: If you have a still selected, the Previous Still key selects the one preceding.
— Next Still: The next still is selected if this key is used.
— Highlight: When in the Qualifier menus making secondary qualifiers, it’s common to select the Highlight key to show a high contrast separation of the qualified color and all other parts of the image. Toggle this key to turn off.
— Prev KF: This key steps backward one keyframe on the Clip/Track Timeline display.
— Next KF: For keyframe steps forward on the Clip/Track Timeline display.
— Ref: This toggle key changes the reference wipe mode between Gallery, Timeline, and Offline sources.