
< Previous | Contents | Next >
Adjusting Volume in the Timeline
Each clip (or item) of audio in the Timeline has a Volume overlay that lets you set that clip’s gain level by simply dragging it up or down with the pointer. This overlay corresponds to the Volume parameter in the Inspector.
Dragging a Volume overlay to adjust the clip level

NOTE: Under the Fairlight menu > Show Clip Gain Line, you can show each clip’s gain in the Timeline. This is a handy way to quickly see all of the relative gains of clips in the Timeline.
NOTE: Under the Fairlight menu > Show Clip Gain Line, you can show each clip’s gain in the Timeline. This is a handy way to quickly see all of the relative gains of clips in the Timeline.
NOTE: Under the Fairlight menu > Show Clip Gain Line, you can show each clip’s gain in the Timeline. This is a handy way to quickly see all of the relative gains of clips in the Timeline.
Additionally, you can click any clip’s Audio Curve Editor button, at the bottom right-hand corner of each audio clip, to open an audio-specific Curve Editor with which you can keyframe not just volume, but pan, and the parameters of any audio filters you might have applied to that clip.
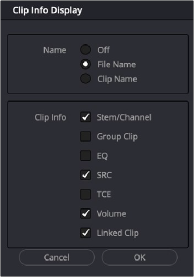
Clip information for all clips in the Timeline can be enabled in the Clip Info display.