< Previous | Contents | Next >
DaVinci Control Panel Setup Utility can be connected to the Fairlight panels via USB or Ethernet using DHCP. If you are not using a DHCP server, you can set the network settings to a fixed IP address via USB. More information for changing network settings is found later in this chapter.
When configuring the Fairlight console for your studio, the first step is to name each module using the DaVinci Control Panel Setup Utility. This lets you easily identify each panel by clicking on the “identify me’ checkbox.
1 Launch the DaVinci Control Panel Setup Utility.
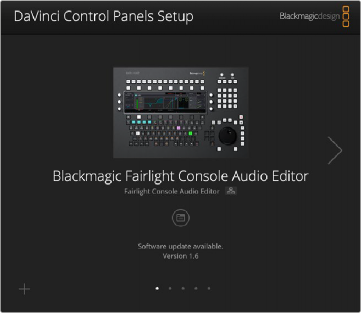
The currently selected panel will be visible on the setup utility home screen. Navigate to each installed unit by clicking on the arrows on each side of the home screen.
2 Select a panel on the home screen and click on the Settings icon. You can also click the panel’s image to open the setup window.
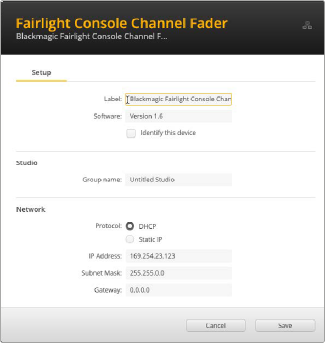
3 In the Setup panel under Label, you will see the Label: text box that identifies the current panel by name, starting with “Blackmagic” and followed by the default panel name, such as “Fairlight Console Channel Fader.”