< Previous | Contents | Next >
Editing and Removing Transitions
Once you’ve added a transition, you can edit it in a number of different ways to work best for your program, both in the Timeline and in the Transition Inspector.
— To change a transition’s duration: Drag the beginning or end of a transition in the Timeline to be longer or shorter symmetrically about the current edit.
— To move a transition from one edit to another: You can drag a transition from its current position to another edit point.
— To copy a transition from one edit to another: Select a transition, then option-drag it to another edit point to add a duplicate transition.
— To change a transition’s type: Drag a different transition from the Transition Browser onto the current one in the Timeline.
![]()
— To remove a transition: Select a transition in the Timeline and press the Delete key.
For more detailed control over your transition, including modifying all transition-specific parameters, use the Transition Inspector. For more information on each specific transition included in
DaVinci Resolve, see Chapter 47, “Using Transitions.”
Titles
There’s a collection of title clips in the Titles Browser that you can use to add superimposed titles, slates, interstitial titles, lower thirds, or otherwise fulfill any textual needs your program has.
Titles Thumbnails
To audition titles before you place them into the Timeline, ensure that “Hover Scrub Preview” is checked in the Titles option menu, then simply hover your pointer over any thumbnail in the Titles tab. If the title is animated (i.e., Fusion titles), moving the pointer across the thumbnail will preview the animation. Once you’ve chosen your title, you can drag it from the Titles tab to your Timeline in the Edit page or in the Cut page to either the upper or lower Timelines, or use the editing selection modes at the bottom of the tab.
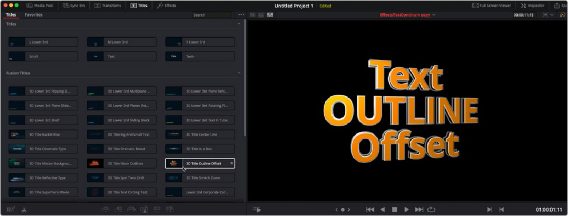
Scrubbing over a Title Thumbnail previews the title in the Viewer.