< Previous | Contents | Next >
Adding Filters to Video Clips
DaVinci Resolve supports both built-in Resolve FX and third-party OFX plugins to create various effects. These effects can be applied both to clips in the Edit page, and to nodes in the Color page. This section shows how to apply, edit, and remove these filters in the Edit page. For more information about using video effects in the Color page, see Chapter 149, “Using Open FX and Resolve FX.”
For a detailed explanation of each of the Resolve FX plugins that accompany DaVinci Resolve, see Part 12, “Resolve FX Overview.”
— To apply a video filter to a clip:
— Drag any filter from the Effects Library onto the clip in the Timeline you want to apply it to.
— Double Click the filter in the Effects Library to apply it to the selected clip.
— Drag the Filter from the Effects Library to the Inspector to apply it to the selected clip.
— Drag the Filter from the Effects Library to the Viewer to apply it to the clip being viewed.
![]()
— To apply a video filter to multiple clips: Select all of the clips you want to apply a filter to in the Timeline, and then drag any filter from the Open FX category of the Effects Library onto any of the selected clips. This is undoable.
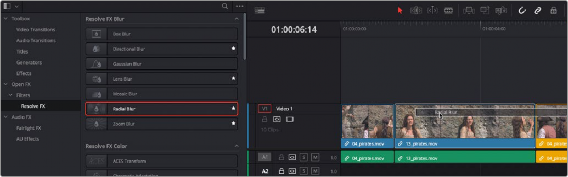
Applying a video filter to a single clip in the Timeline
— Select that clip and open the Inspector’s Effects tab. The effects will be further sub-grouped by type: Fusion, Open FX, or Audio. If a clip does not have any effects assigned to it, this panel will be dimmed.
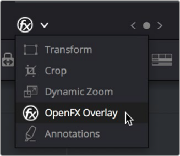
Some video filters have custom onscreen controls that can be modified in the Viewer. These can be exposed in the Edit page using the OFX mode of the Viewer.
Once enabled, the OFX onscreen controls appear in the Viewer.
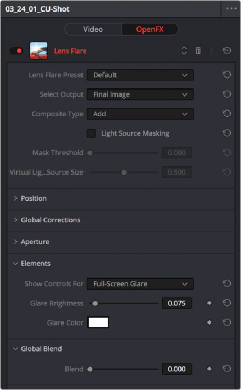
Resolve FX controls appear in the Effects panel of the Inspector.
Turning on the onscreen controls for Resolve FX in the Edit page Timeline Viewer
![]()
Modifying onscreen controls for Resolve FX in the Edit page Timeline Viewer
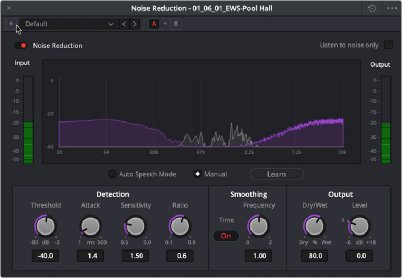
Many audio filters expose custom controls that appear in a floating window.
— Open the parameters if they’re not open already by double-clicking that filter’s title bar. A button should appear at the top of the parameters for filters that have custom UI. Clicking this button opens a floating window with all the custom controls. When you’re finished adjusting the custom controls, close the window.