< Previous | Contents | Next >
Lighting and Shadows in 3D Viewers
Before you add lights to a 3D scene, default lighting is provided. This basic, flat lighting allows you to see the shading on objects without requiring you to add and set up lights as you work in the 3D Viewer. Additionally, shadows are hidden by default. Once you start adding lights of your own, you need to switch modes to see what they affect as you work.
— Right-click within the 3D Viewer and choose 3D Options > Default Lights from the contextual menu.
When you’re ready to add your own lighting to a scene, you can connect light nodes in various ways to a Merge 3D node for the scene you’re working on. Once you connect a light to a Merge 3D node, you need to switch the 3D Viewer over to showing the new, proper lighting.
— Right-click within the 3D Viewer and choose 3D Options > Lighting from the contextual menu.


TIP: Attempting to load a Light node into a viewer all by itself will result in an empty scene, with nothing illuminated. To see the effects of lights, you must view the Merge 3D node the light is connected to.
TIP: Attempting to load a Light node into a viewer all by itself will result in an empty scene, with nothing illuminated. To see the effects of lights, you must view the Merge 3D node the light is connected to.
TIP: Attempting to load a Light node into a viewer all by itself will result in an empty scene, with nothing illuminated. To see the effects of lights, you must view the Merge 3D node the light is connected to.
![]()
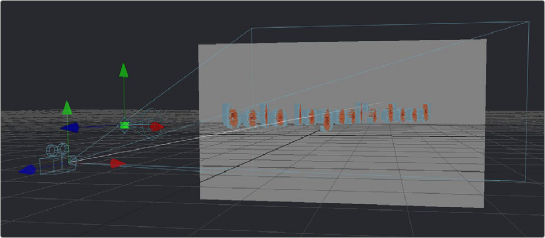
A 3D scene using default lights (top), and the same scene with lighting turned on (bottom)