< Previous | Contents | Next >
— Choose the Capture Device for inputting the video signal from the Video Input/Output options in the System Preferences.
— Create a New Project.
— Make sure your Timeline format and Video Monitoring size and frame rate match your camera’s video output in the project’s Master Settings.
— Create a New Timeline.
![]()
Grading Live
Once your camera and computer are appropriately connected and configured, using Resolve Live is straightforward. This section describes the live grading workflow as it was designed to be used. Once you’re familiar with the capabilities of Resolve Live, you may find your own ways of working that are more in tune to the needs of your particular project.
Going Live
Once you’ve created your day’s project, you need to turn on Resolve Live to begin work.
1 Open the Color page.
2 Choose Color > Resolve Live (Command-R).
A red Resolve Live badge at the top of the Viewer indicates that Resolve Live is turned on, and the transport controls are replaced by the Freeze and Snapshot buttons.
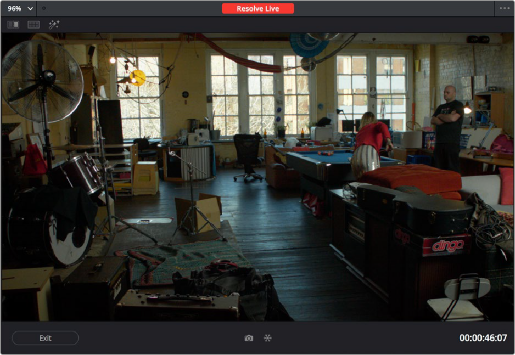
A red badge shows that Resolve Live is active and showing incoming video from the camera