< Previous | Contents | Next >
The following procedures describe how to add markers to clips and timelines in DaVinci Resolve.
— To place a marker without doing anything else, move the playhead to the frame you want to mark, and then press M.
— To place a marker and immediately open the marker dialog to enter a name or note within it during playback, press Command-M (or press M twice). Playback pauses until you enter the text you want to and close the marker dialog again, at which point playback continues.
— Move the playhead to the frame you want to mark, then right-click in the jog bar and choose a marker color from the Add Marker submenu of the contextual menu.
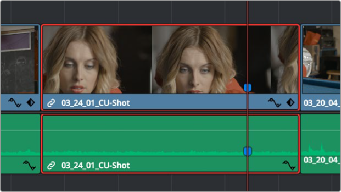
— Select one or more clips you want to mark, then move the playhead to the frame of a selected clip in the Timeline, and click the Marker button in the toolbar (or press M) to place a marker at that frame, using the current color (if multiple overlapping clips are selected, you’ll
add a marker to all clips).
— To place a marker during playback and immediately open the marker dialog to enter a name or note within it, select one or more clips you want to mark, play through the selection until you want to place a mark, then press Command-M (or press M twice). Playback pauses until you enter some text and close the marker dialog again, at which point playback continues.
![]()
— Select one or more clips you want to mark, and then click the Marker drop-down to choose a different color, and click the Marker button.
Markers appear in the Timeline at the top of the title bar of the clip to which they’re applied
Adding Markers to Timelines
You can also place markers of any color into the Timeline ruler to denote specific times for future reference, or add notes about issues you want to keep track of.

Timeline markers placed for future reference
You should note that all markers placed on clips or in the Timeline also appear within the Mini-Timeline of the Color page, making it easy to place notes for later reference when grading.
