< Previous | Contents | Next >
The integration of Fusion into DaVinci Resolve has enabled the ability to create Fusion Titles, Transitions, Effects, and Generators templates for use in the Edit page. You can create these templates in the Fusion page or within Fusion Studio and then copy them into DaVinci Resolve. Fusion Titles, Generators, and Transition templates are essentially comps created in Fusion but editable in the Timeline of the Edit page with custom controls. This section shows you how it’s done.
Getting Started with a Fusion Title Template
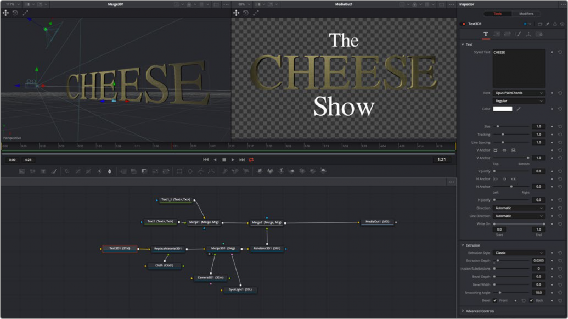
The first part of creating a Fusion title template is to create a Fusion composition consisting of Fusion- generated objects assembled to create nearly any kind of title or generator you can imagine. If you’re really ambitious, it can include animation. In this example, 3D titles and 2D titles have been combined into a show opener.
![]()
Building a composition to turn into a title template.
Saving a Title Macro
Macros are basically Fusion compositions that have been turned into self-contained nodes. Ordinarily, these nodes are used as building blocks inside of Fusion so that you can turn frequently-made compositing tricks that you use all the time into your own nodes. However, you can also use this macro functionality to build title templates for the Edit page.
Having built your composition, select every single node you want to include in that template except for the MediaIn and MediaOut nodes in DaVinci Resolve or Loader and Saver nodes in Fusion Studio.
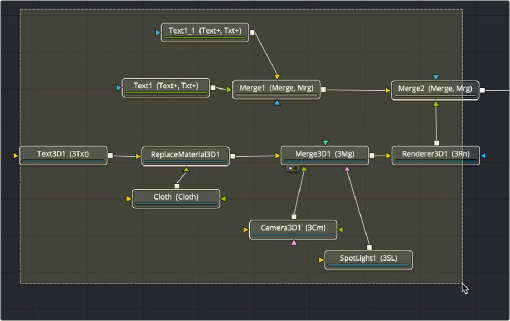
Selecting the nodes you want to turn into a title template.

TIP: If you want to control the order in which node controls will be displayed later on, you can Command-click each node you want to include in the macro, one by one, in the order in which you want controls from those nodes to appear. This is an extra step, but it keeps things better organized later on.
TIP: If you want to control the order in which node controls will be displayed later on, you can Command-click each node you want to include in the macro, one by one, in the order in which you want controls from those nodes to appear. This is an extra step, but it keeps things better organized later on.
TIP: If you want to control the order in which node controls will be displayed later on, you can Command-click each node you want to include in the macro, one by one, in the order in which you want controls from those nodes to appear. This is an extra step, but it keeps things better organized later on.
![]()
Having made this selection, right-click one of the selected nodes and choose Macro > Create Macro from the contextual menu.
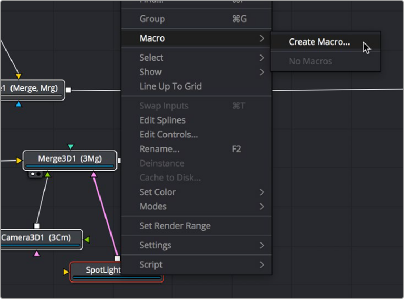
Creating a macro from the selected nodes.
The Macro Editor window appears, filled to the brim with a hierarchical list of every parameter in the composition you’ve just selected.
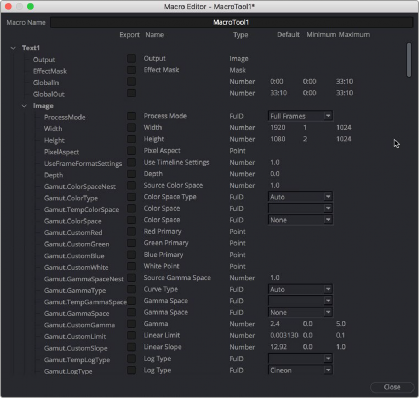
The Macro Editor populated with the parameters of all the nodes you selected.
![]()
This list may look intimidating, but closing the disclosure control of the top Text1 node shows us what’s really going on.
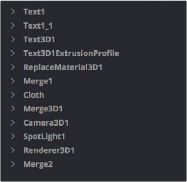
A simple list of all the nodes we’ve selected.
Closing the top node’s parameters reveals a simple list of all the nodes we’ve selected. The Macro Editor is designed to let you choose which parameters you want to expose as custom editable controls for that macro. Whichever controls you choose will appear in the Inspector whenever you select that macro, or the node or clip that macro will become.
So all we have to do now is to turn on the checkboxes of all the parameters we’d like to be able to customize. For this example, we’ll check the Text3D node’s Styled Text checkbox, the Cloth node’s Diffuse Color, Green, and Blue checkboxes, and the SpotLight node’s Z Rotation checkbox, so that
only the middle word of the template is editable, but we can also change its color and tilt its lighting (making a “swing-on” effect possible).
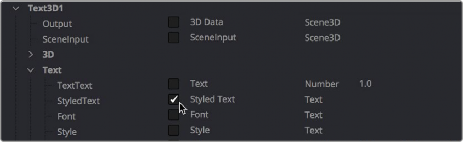
Selecting the checkboxes of parameters we’d like to edit when using this as a template.
Once we’ve turned on all the parameters we’d like to use in the eventual template, we click the Close button, and a Save Macro As dialog appears.
To have the Title template appear in the Effects Library > Titles category of DaVinci Resolve, save the macro in the following locations:
— On macOS: Macintosh HD/Users/username/Library/Application Support/Blackmagic Design/ DaVinci Resolve/Fusion/Templates/Edit/Titles
— On Windows: C:\Users\username\AppData\Roaming\Blackmagic Design\DaVinci Resolve\ Support\Fusion\Templates\Edit\Titles
![]()
— On Linux: home/username/.local/share/DaVinciResolve/Fusion/Templates/Edit/Titles
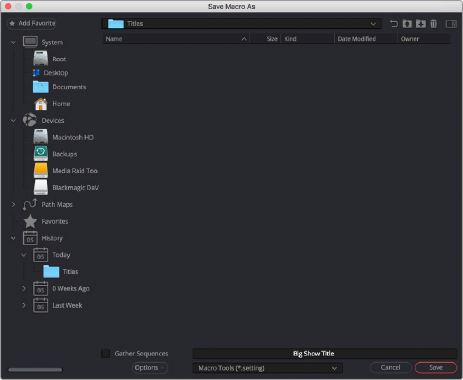
Choosing where to save a title template for the Edit page in DaVinci Resolve.